Fixed Seat Rowing Geometry
The geometry of fixed seat rowing is completely different from sliding seat rowing, but equally important for performance and comfort. There are many variables including length of oars, location of rowing seat relative to the boat, position of foot brace, height of oarlocks above seat, height of oars, height of seat above bilge, and the spread of the oarlocks. Additionally, there are factors to consider with the oars, such as spoon blade vs flat and weighted vs non weighted handles. Below we discuss the different aspects of fixed seat rowing, and the ideal way to set up your boat.

Location of Rowing Seat/Thwart
Typically, the rowing seat is located roughly in the center of the boat, but this isn’t always the case. The overall objective is to have the loaded boat’s center of gravity approximately in the middle (or just aft of the middle), and this includes passengers, gear, the rower, and the boat itself. If a boat is regularly carrying a passenger or cargo, the rowing position may be situated further aft or forward to balance the load. Steering is enhanced by having the rowing station further aft, while steering takes more effort when the rower is placed forward.
Usually, a rowing boat will already have a thwart in the ideal position for rowing worked out by the designer. Sometimes there will be multiple rowing stations to provide ideal balance for different passenger/cargo configurations or for tandem rowing. If you are outfitting your own boat, or starting from scratch, it’s best to temporarily set a seat up (start with the seat in the center) and test how the boat moves. Check its lines in the water, and make sure the transom is not submerged. When rowing the boat should track well. Adjust the seat position if necessary for ideal performance and then affix.
Height of the Rowing Seat from the Bilge
The height of the rowing seat from the lowest point of the bilge should be 5.5”- 8”. A lower seat drops the center of gravity providing greater stability, however, don’t go too low, otherwise rowing will become uncomfortable over longer distances. Another factor affecting ideal seat height is the height of the oarlocks (see below).
Height of Oarlocks above the Seat
This distance is largely determined by the height of the gunwales. Generally, oarlocks are positioned at the gunwales, and while the oarlock mounts can be raised slightly proud, they can’t be lower than the gunwales. There are a few designs of open rowing craft that have such low freeboard/depth that conventional oars can’t be used, and instead a sliding seat drop in rig must be used.


The oarlocks (at the location where the oar rests) should be at least eight inches higher than the seat to a maximum of 11.5”. This measurement can influence the height that the seat should be placed at. If your boat has low gunwales, you may need to place your seat closer to 5.5” from the bilge, while a large boat with high gunwales may require having a higher seat placement. For a boat with low gunwales, the oarlock height can be raised a couple of inches above the gunwales by creating appropriately shaped mounting blocks.
Longitudinal Position of Oarlocks
The oarlocks should be placed approximately 13” back from the aft edge of the rowing seat. This is a suitable distance for most rowers. If you are customizing the distance specifically for yourself, add an inch if you are taller than average or subtract an inch if you are shorter.
Width of Oarlock Span
Oarlock span or spread is the distance that the two oarlocks are separated. Typically, the oarlock span is dictated by the beam/width of the boat where the oarlocks are situated. The span can be further increased by mounting small rigger bases, however, it cannot be less than the beam at the location of the oarlocks.
Short Riggers have been added to this Oxford Wherry to provide ideal spread (note: the oar collars and foot brace are not installed in this boat).
A wider span requires longer (hence heavier) oars, which means more overall weight to move through the water, and more effort required to move the oars. On the other hand, if the spread is two narrow, the geometry simply doesn’t work, creating an awkward and less efficient stroke.
The ideal spread of the oarlocks should be 44” – 48”. The spread can be wider, however, overall efficiency will decrease. For an overly beamy boat, the rowing station can be moved aft in order to reduce the oarlock spread. Keep in mind, however, that a rowing station placed aft will need to be balanced with a passenger or other ballast forward for ideal trim.
Faster boats tend to have a narrow beam, and it is likely that a good touring rowboat will have a narrower beam than 44”. In order to create sufficient spread between the oarlocks, small riggers need to be used. (see image above) The riggers can be bolted into position for easy removal, or they can be permanently affixed.
Foot Brace
It’s important to have a solid foot brace to counter the force you are conveying through the oars. Foot braces can be adjustable for different sized people, but typically a position of about 26” aft from the aft edge of the rowing seat works for most. An appropriately placed thwart or seat can be used as a foot brace, or even a mobile object (such as a chunk of foam or wood) can be placed in position braced against a thwart. The brace should be adequately sized so you can spread your feet apart for stability in rougher seas.
How Long Should the Oars Be?
The main factor dictating the length of oars to be used is the spread of the oarlocks. The wider the spread, the longer the oars need to be. Another lesser factor is the preference of the rower. Just like the gearing in a bicycle, the leverage of the oars changes depending on the length. Longer oars will make the boat “higher geared” suitable for more powerful rowers, while shorter oars (for a given oarlock span) will be easier to move through the water, but providing less thrust.
The graph below indicates approximately how long the oars should be relative to spread. Subtract or add an inch or two (higher or lower “geared”) for personal preference.

Position of the Oar Collar
The collar, or button, keeps the oar from sliding through the oarlock and can be made of plastic, leather or other material. The location of the collar on the oar dictates the percentage of inboard and outboard. Depending on personal preference, you may wish to position the collars to have some crossover of the handles (which increased performance slightly, but makes rowing a little more awkward), or collars positioned so the handles can’t make contact during the rowing stroke. It’s best to experiment a bit with the collar position to determine what works best for you and your boat.
Wear Protectors
The oarlocks will slowly wear through your wooden oars if you don’t have some type of sheathing to protect the wood. A wrap of leather at the location of contact is commonly used for this purpose, and is aesthetically pleasing. Alternatively, a wrap of fiberglass, or better, Kevlar (saturated with epoxy) works well for this purpose.
You can also find buttons/collars and wear protectors in a one-piece plastic unit. These don’t look as pretty as a two-piece system with a leather wrap, however, they are very functional.
Counterbalancing the Oars
Since the outboard of the oars is longer than the inboard, you will be fighting gravity each time you lift the oars out of the water. Additional weight can be added to the inboard of the oars to make them more balanced and easier to lift. Some traditional oars achieve this through shaping – with the oar shaft getting significantly thicker near the handle to add weight. Alternatively, a hole can be drilled longitudinally through the handle with lead rods inserted.
If you’re aiming to maximize performance, you’re better off using lightweight oars that don’t require counterbalancing. Adding lead to a human powered craft of any sort -whether it be a bicycle or rowboat will slightly compromise performance. With lightweight oars, the weight of your hands on the handles will almost be enough to lift the blades from the water. The key to creating lightweight oars is to use a light wood such as spruce or pine (with appropriate engineering so it doesn’t break). Additionally, significant weight can be shaved off the blades by making them thinner and laminating both sides with 3 oz fiberglass for reinforcement.
Spoon Blade vs Flat Blade Oars
Spoon blade oars provide slightly better performance, with the downside of being a little more expensive or harder to make. Overall, both are good choices, and it comes down to personal preference.
U-Shaped Oarlocks vs Round
U-shaped oarlocks allow you to lift the oars out from the oarlocks, so the oarlocks can stay in position when the oars are slowed. With round oarlocks, you cannot remove the oars from the oarlocks (without removing the button/collar), and instead the oarlocks stay with the oars. The oarlocks simply slide out from their holders and are stowed along with the oars. Round oarlocks are slightly stronger than u-shaped locks. If you always plan on removing the oarlocks when you remove the oars (which is advisable when switching to sailing, for example) it is better to use round oarlocks, since it is easier to keep track of them (and they can’t go overboard and sink!) when they are permanently affixed to the oars.

4 Responses

John
For our oars we use hardwoods mostly for durability and traditional reasons. We build Adirondack Guideboat style boats for both pleasure and racing. Cherry, hard and soft maple are our choices. Soft maple was traditionally used and can be shaved down to about an inch in the loom before the blade. The oars have tremendous flexibility and provide a kick at the end of the stoke which propells the boat and sets you up for a good catch maintaing speed and forward momentum.

Steve
I’m wondering how the height of the rower affects oar length- since I’m 6’2”

Colin Angus
For oar shaft spruce is the best material. Good quality pine can also be used. Heavier woods, such as ash, though strong, make the oar too heavy. More decorative woods can be laminated into the thinner blades.

Richard Wong
Can I ask which types of Oars materials using will be more effectively.
Leave a comment
Comments will be approved before showing up.
Also in News
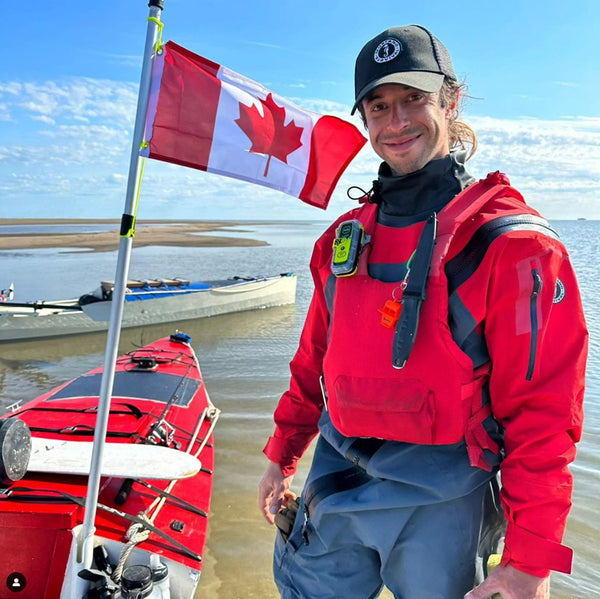
Human Powered Achievements through the Northwest Passage
At Angus Rowboats, our passion for adventure naturally draws us to the mystique of the Northwest Passage – one of the world's most captivating and perilous waterways. Historically, this elusive passage promised a shorter shipping route, spurring early navigators to fervently chart and struggle through its icy intricacies.
The summer of 2023 saw three audacious teams, including one using our very own RowCruiser boats, aiming to be the first to traverse NW Passage solely by human power within a single season. As the season concludes, we've chronicled these attempts, and catalogued past human-powered endeavors to navigate the Northwest Passage.
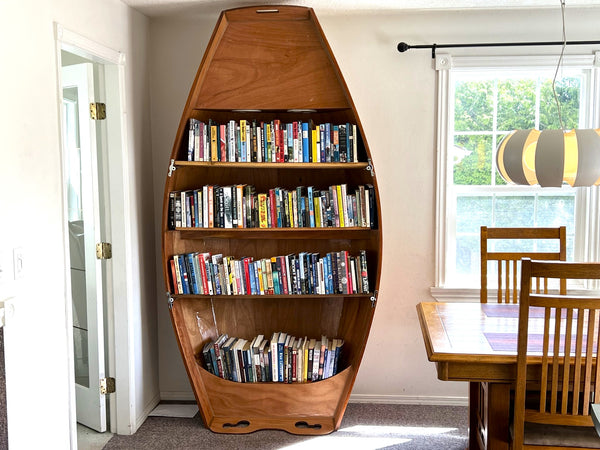
Creating a Bookcase from a Boat
Angus Rowboats
Author